In this lesson, I’ll demonstrate 5 effective approaches to delete every nth row in Excel. Moreover, these techniques will enable you to solve the problem that led you here. However, you will master several crucial Excel features and functions during this article, which will come in extremely handy for any assignment using Excel.
📁 Download Excel File
The sample worksheet that was used during the discussion is available to download for free right here.
Learn to Delete Every nth Row in Excel with These 5 Methods
Here in this article, we will learn how to delete every nth row in Excel using different approaches. To be exact, I’ve provided a total of 5 methods.
1. Using Find and Replace Tool with Special Characters
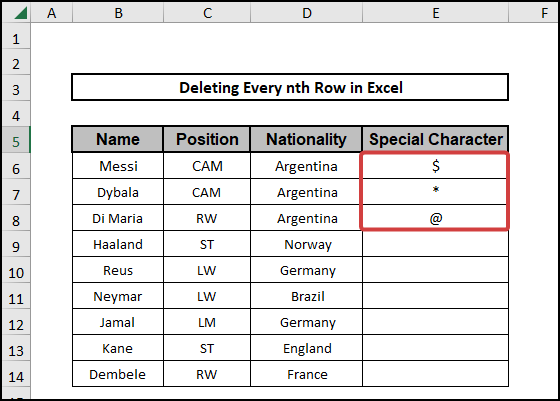
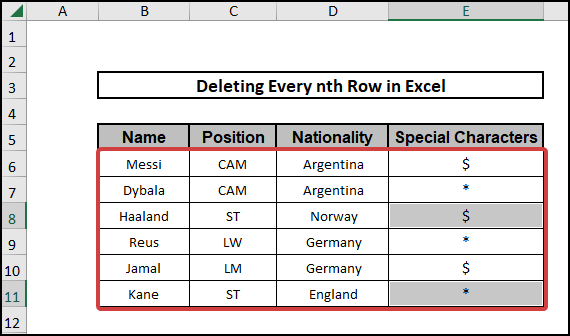
Here we will be applying special characters to delete every nth row in a dataset in Excel. We will be using the Find and Replace Tool in this section. For instance, let’s say we will delete every 3 interval row from the dataset.
⬇️⬇️ STEPS ⬇️⬇️
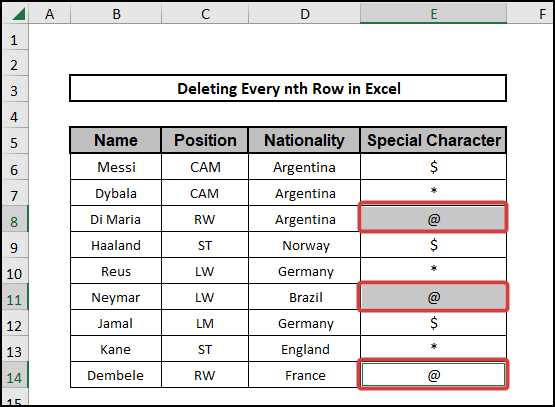
- Firstly, we will create a new column for the special characters. As we want the 3rd row to be deleted. We will add special characters until the 3rd row.
- Now copy down first three data along the column by putting your mouse cursor in the bottom right corner of the three selected cells and dragging down to the last cell of the column.
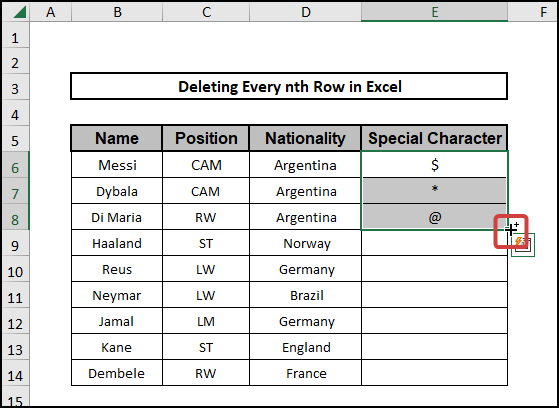
After dragging down to the last cell, by this, we are basically denoting every 3 interval rows of the dataset.
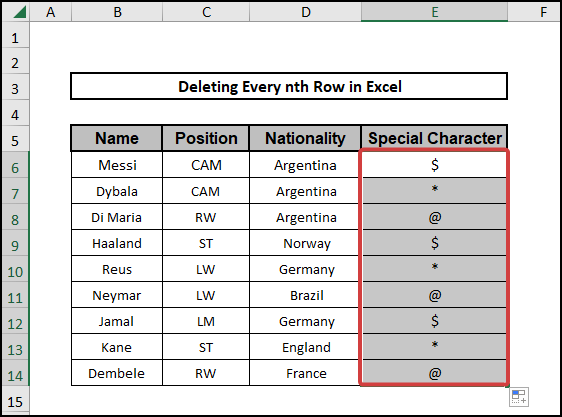
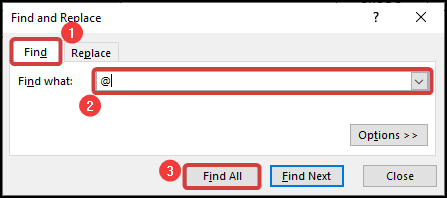
- Now press Ctrl+H to open up the Find and Replace Tool. Select the Find option type in “@” in the Find What field and press on Find All.
- Select all the rows using Ctrl and click on every Row and close the window.
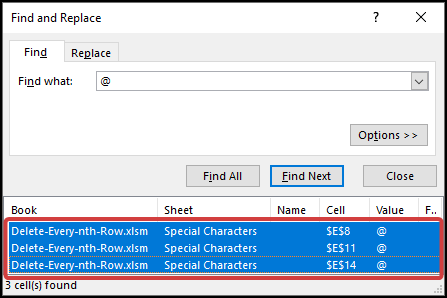
- As you can see, every 3 interval rows of the Special character column is selected.
- Now go to the Home tab from the ribbon.
- At the right side of the toolbar, you’ll see the Delete option like the picture below. Select Delete Sheet Rows from the Delete.
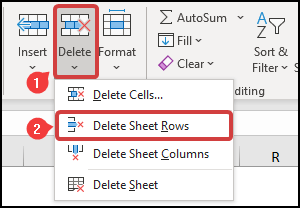
- You’ll see the following result as every 3 interval rows has been deleted now which had the character value “@” in their special character column.
📕 Read More: 9 Ways to Delete Unused Rows in Excel
2. Implying MOD Function and Filter Tool
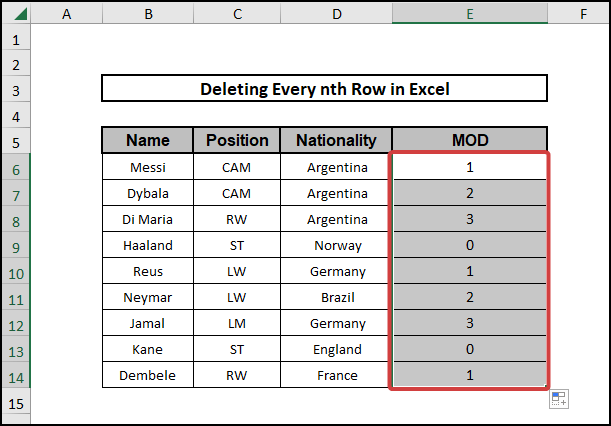
Here we will be using MOD function and the Filter Tool to delete in 4-row differences in a dataset in Excel. We will be using the Filter Tool for deleting and MOD function for denoting every 4th row in this section. MOD returns the remainder, once the integer has been divided by the divisor.
⬇️⬇️ STEPS ⬇️⬇️
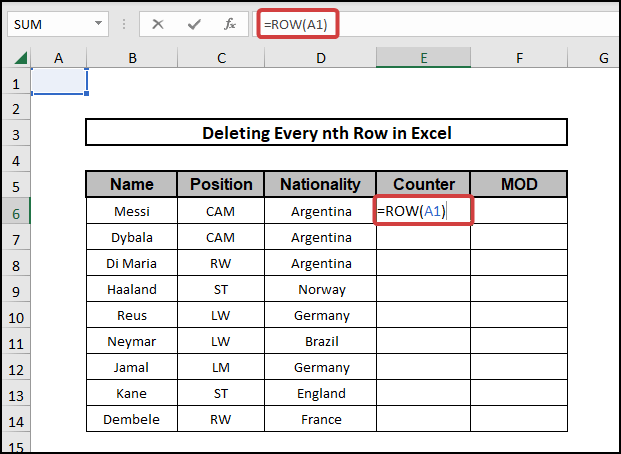
- First, we need to create a counter column to get the serial of the rows. For that, copy down the formula. This function returns the value of the Row number.
=ROW(A1)
- After that, copy down the formula along the column.
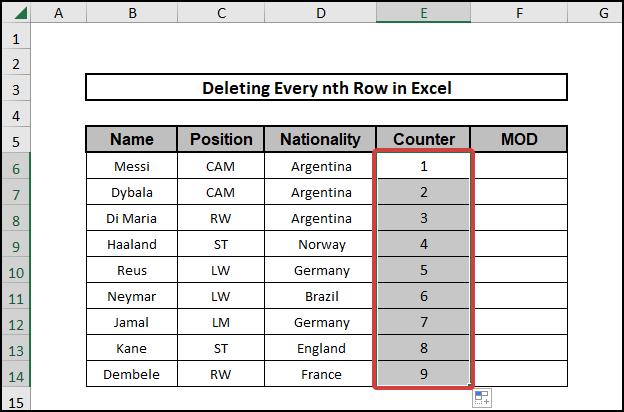
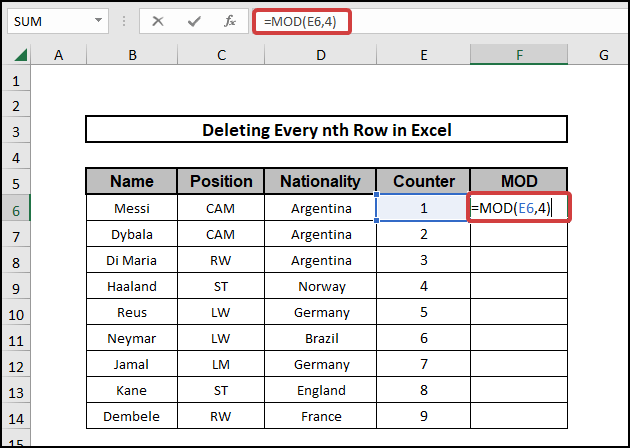
- Now use MOD function to specify every 4th Row of the dataset. For that, we are going to use this formula.
=MOD(E6,4)
- Copy down along the column.
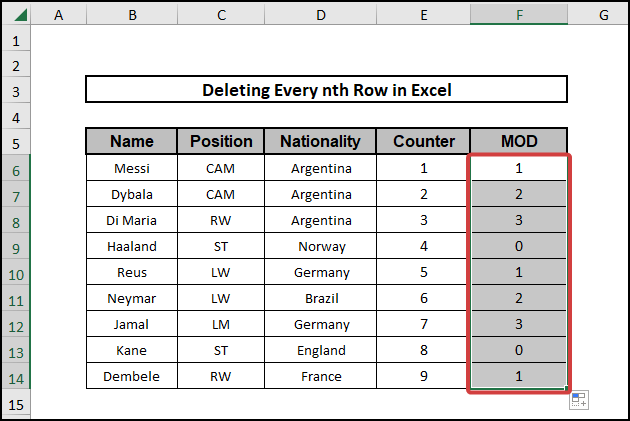
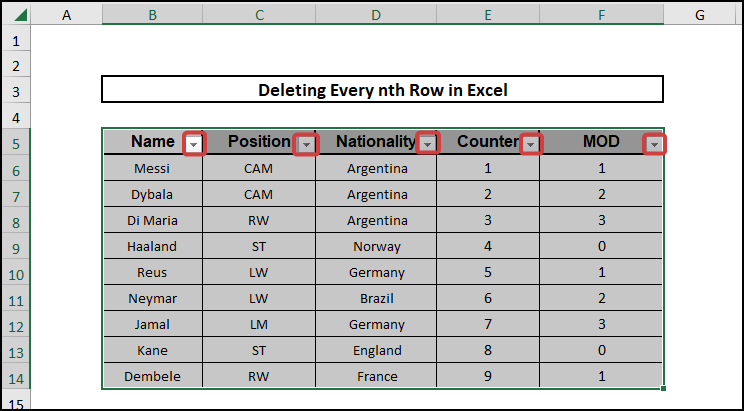
- Now, we can say that every 4th Row has 0 in the MOD column. Select the Whole dataset including the column Headers and go to the Filter option from the Data tab of the ribbon.

- You’ll see a dropdown button for each column as a result.
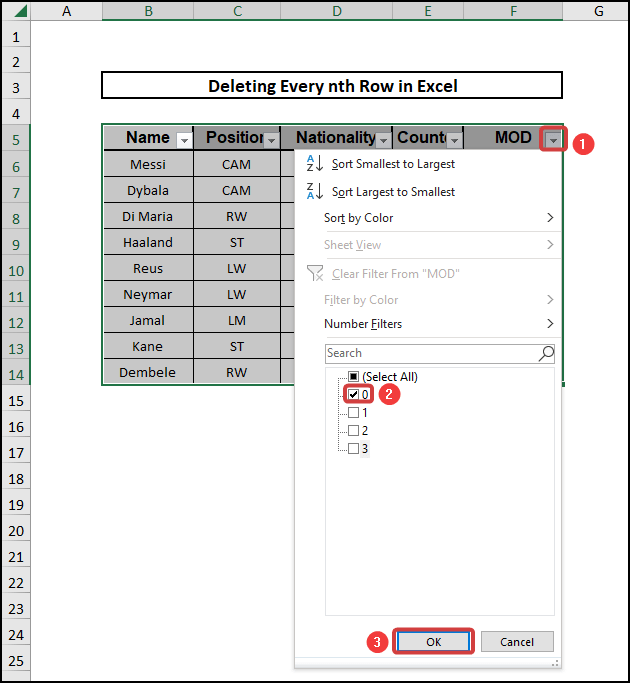
- After that, select the drop-down button of the MOD column select the 0 option. Then press OK.
- These are the filtered values for you here.
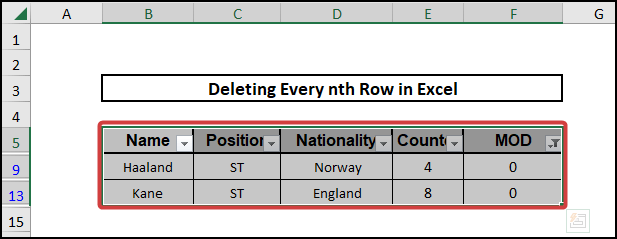
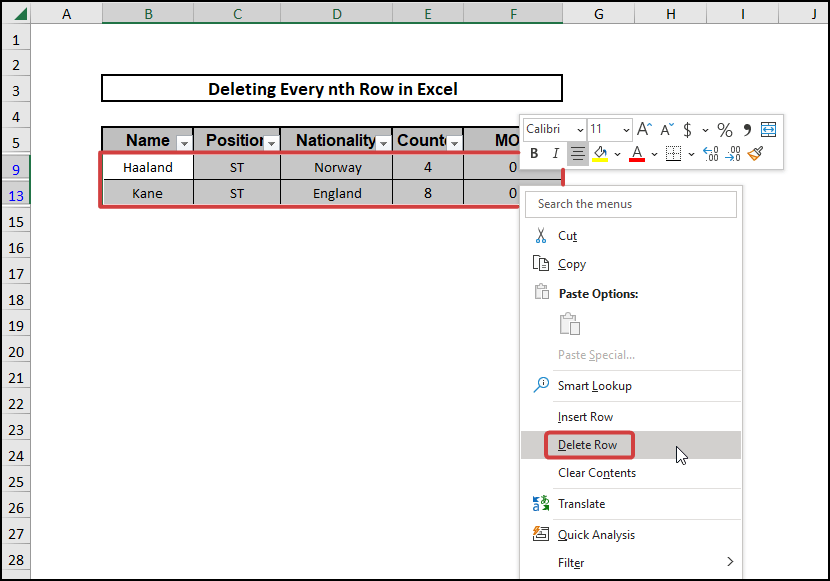
- Now simply select the rows by dragging the mouse cursor and then right-click to open up options. After that select the Delete Row option.
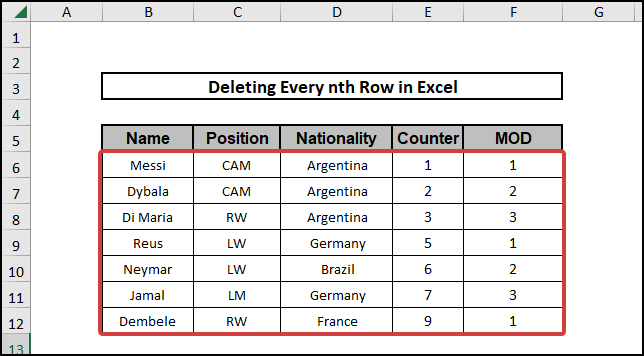
- After deleting click on the Filter option again to show the remaining dataset.
📕 Read More: 5 Ways to Remove Blank Rows Using Formula in Excel
3. Applying Mod Function with ROW Function
Here we will be using the MOD with ROW functions to delete every 4th row in a dataset in Excel. We will be using the Filter Tool for deleting and the formula for denoting every 4th row in this section. MOD function returns the remainder, once the integer has been divided by the divisor.
⬇️⬇️ STEPS ⬇️⬇️
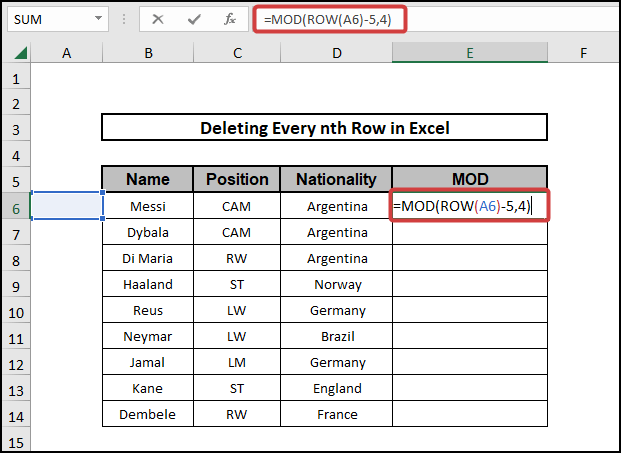
- Firstly, select and use the formula in the formula bar.
=MOD(ROW(A6)-5,4)
🔨 Formula Breakdown
👉 ROW(A6)
The ROW function denotes row number of cell A6 which is 6.
👉 MOD(ROW(A6)-5,4)
Here the MOD returns the remainder by dividing (6-5) by 4.
👉 Output- 1.
- Press Enter and copy down the formula to apply the results to all the cells of the column.
- Now, we can say that every 4th Row has 0 in the MOD Column. Select the Whole dataset including the column Headers and go to the Filter option from the Data tab of the ribbon.
- You’ll see a dropdown button for each column as a result.
- After that, select the dropdown button of the MOD column, select the 0 option, and then press OK.
- These are the filtered values for you here.
- Now simply select the rows by dragging the mouse cursor and then right click to open up options. After that select the Delete Row option.
- After deleting click on the Filter option again to show the remaining dataset.
4. Utilizing ISEVEN Function
Here we will be utilizing special characters to delete every nth row in a dataset in Excel. We will be using ISEVEN function in this section. For instance, let’s say we will delete every 2nd row from the dataset. So we will find which rows are even numbered and which are odd-numbered.
⬇️⬇️ STEPS ⬇️⬇️
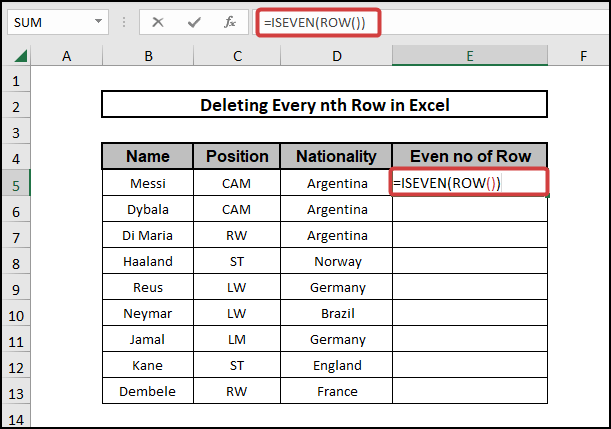
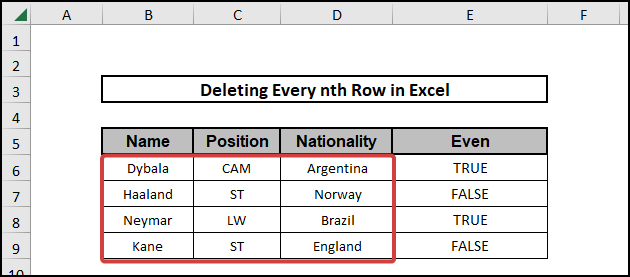
- Firstly, write down the formula to find which rows are even numbered.
=ISEVEN(ROW())
🔨 Formula Breakdown
👉 ROW()
The ROW function denotes row number of the corresponding cell.
👉 ISEVEN(ROW())
Here, ISEVEN returns TRUE if the Row number is Even and FALSE if the row number is Odd.
👉 Output- FALSE for cell E5.
- Press Enter and copy down the formula along the column.
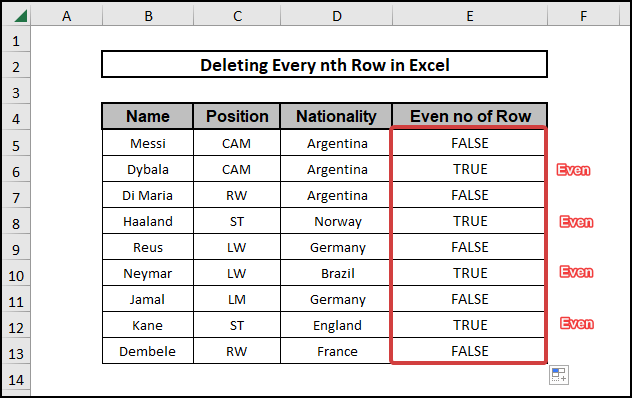
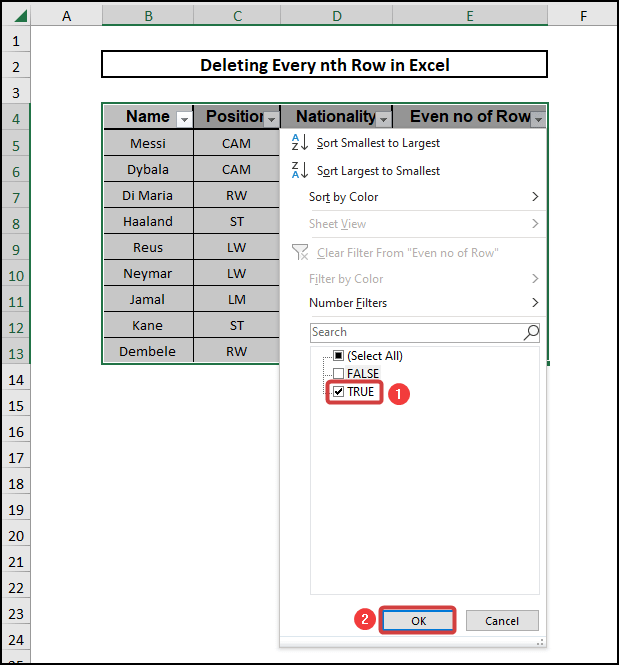
- Now that we have successfully found all the rows which are even and odd we can simply use the Filter Tool like the other methods stated above and delete every 2nd Rows which are denoted by True.
- Pressing OK we will see these filtered out data. Now we will simply select all the rows by dragging the mouse cursor.
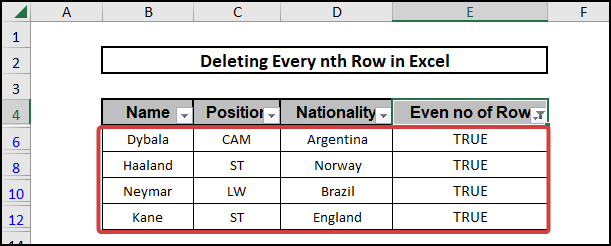
- Delete the rows by selecting them except the headers and clicking on the Delete Tool from the Home tab of the ribbon.
The result will be like the following picture.
5. Embedding VBA Code
Here we will be using a VBA code to delete when it comes to every nth row in a dataset in Excel. For instance, let’s say we will delete every 3 rows from the dataset. I’m providing the necessary steps to demonstrate the process.
⬇️⬇️ STEPS ⬇️⬇️
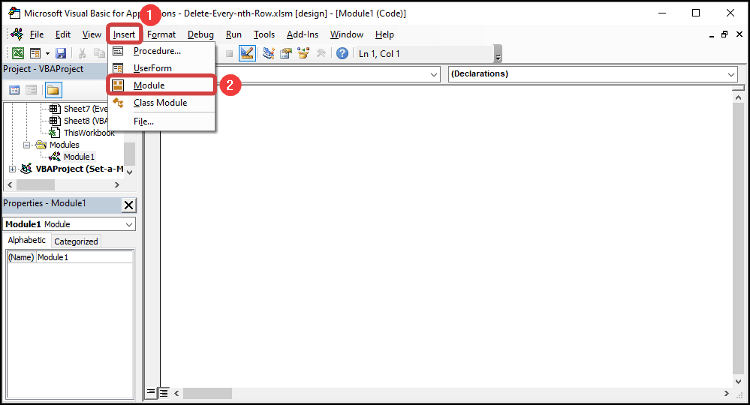
- Firstly, enable the Developer tab in your ribbon and after that go to the Visual Basic option from the Developer.

- After that, a new window will pop-up select Module from the Insert option of the window.
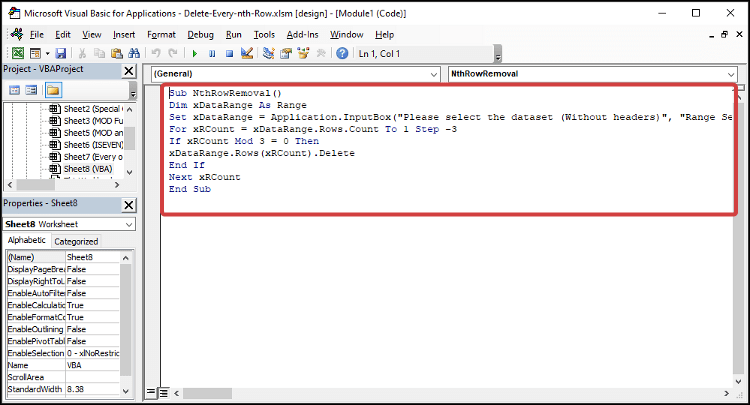
- Copy the following code and save this code. It is modified so that we can delete every 3-row intervals from the Dataset, you can customize the code as per your need.
Sub NthRowRemoval()
Dim xDataRange As Range
Set xDataRange = Application.InputBox("Please select the dataset (Without headers)", "Range Selection", Type:=8)
For xRCount = xDataRange.Rows.Count To 1 Step -3
If xRCount Mod 3 = 0 Then
xDataRange.Rows(xRCount).Delete
End If
Next xRCount
End Sub
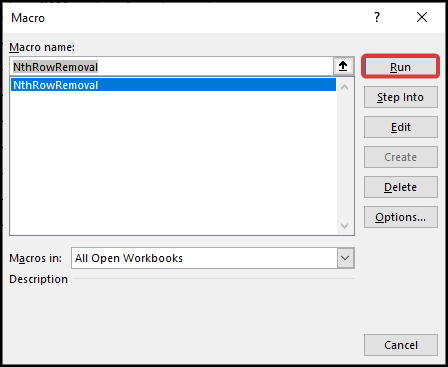
- Now go to the Macros option from the Developer tab of the ribbon and Run the code.
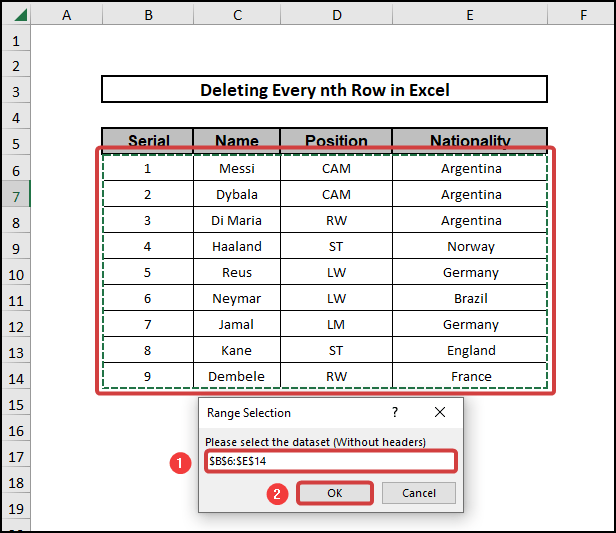
- Select the dataset without the column headers and click OK.
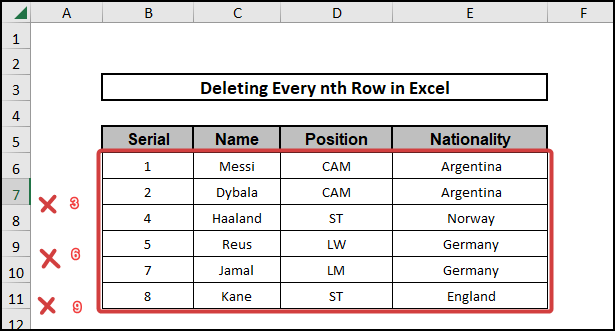
- You’ll see the following result as every 3 interval row is deleted.
📄 Important Notes
🖊️ Be careful while using the code as there are a lot of terms and if you lose concentration the code may be incorrect.
🖊️ Use shortcuts to reduce time.
🖊️ While writing formulas carefully see the suggestions and don’t forget the commas and parentheses.
🖊️ Be careful while defining criteria to be accurate as the dataset.
🖊️ If you download macro enabled Excel file don’t forget to unblock the file from the properties menu.
📝 Takeaways from This Article
📌 Use of ISEVEN, MOD, and ROW functions.
📌 How to convert a column into comma-separated list with single quotes.
📌 Creating formulas using multiple functions.
📌 Method to delete specific rows with the help of the Filter tool.
📌 How to use VBA codes to solve a problem.
📌 Different use of the Find and Replace Tool.
Conclusion
Firstly, I hope you were able to use the techniques I demonstrated in this Delete Every nth Row in Excel lesson. As you can see, there are a lot of options on how to do this. However, decide deliberately on the approach that best addresses your circumstance. Most importantly I advise repeating the steps if you become confused in any of the steps if you get stuck. Practice on your own after taking a look at the Excel file in the practice workbook as I’ve provided above because practice makes a man perfect. Above all, I earnestly hope you can use it. Please share your experience with us in the comment box about how your experience was throughout the article and what we need to improve or add to make things better for you folks. However, if you have any problem regarding Excel spit it in the comment box. The Excelden crew is always available to answer your questions. In conclusion, keep educating yourself by reading. For more Excel-related articles please visit our website Excelden.com.