This lesson will demonstrate 5 different approaches to reset cell size to default in Excel. Moreover, these techniques will enable you to solve the problem that led you here. However, you will master several crucial Excel features and functions during this article, which will come in extremely handy for any assignment using Excel.

📁 Download Excel File
The sample worksheet that was used during the discussion is available to download for free right here.
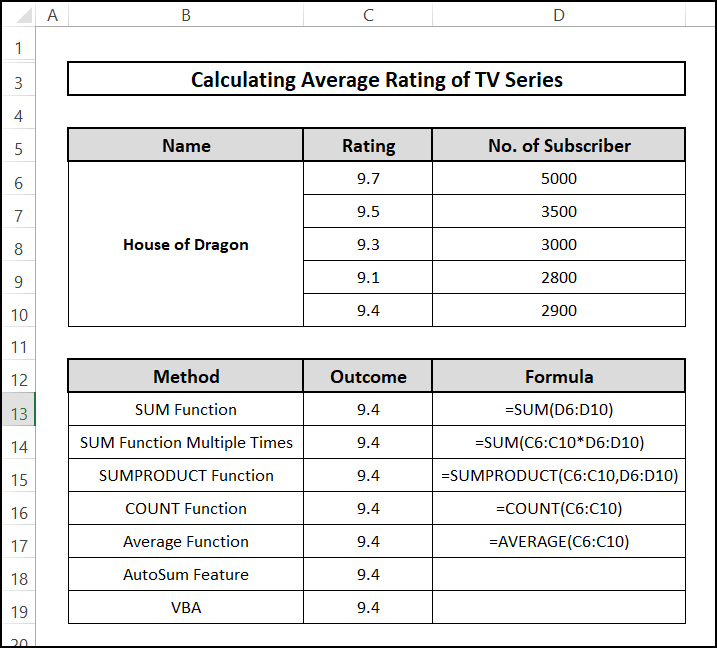
What is Default Cell Size in Excel?
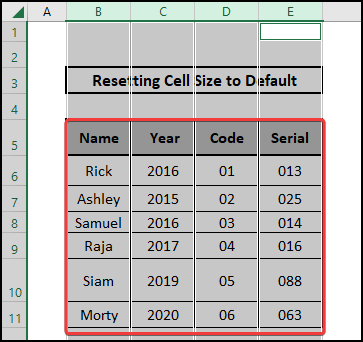
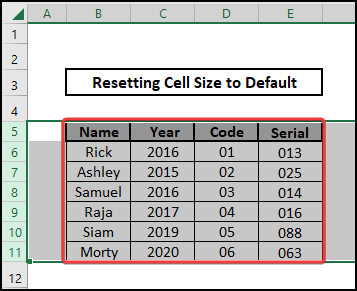
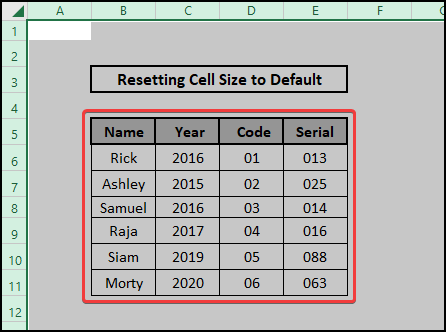
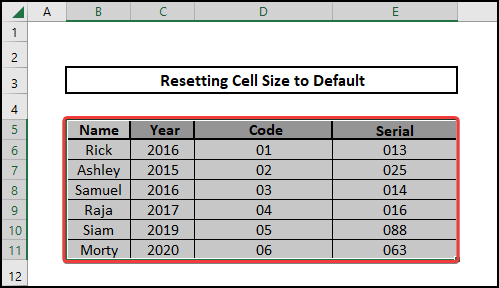
Excel spreadsheets consist of cells where we insert our data. We can customize the cells as per our wish. Excel’s defaults for height of cell are 15, and default for width of cell is 8.43. In this post, you will discover how to return Excel’s cell size to its original default setting. A cell is characterized by its rectangular shape, which includes both a width and a height. Using a variety of approaches, we are able to reset both height and width to their default values. When we copy or download a dataset, the cell size of the dataset may be different on occasion. This might be frustrating. Today, our goal is to return the cell size to its original default setting.
Learn to Reset Cell Size to Default in Excel with These 5 Useful Methods
Here in this article, we will learn to reset cell size to default in Excel using different approaches. To be exact, I’ve provided a total of 5 methods down below.
1. Using Context Menu
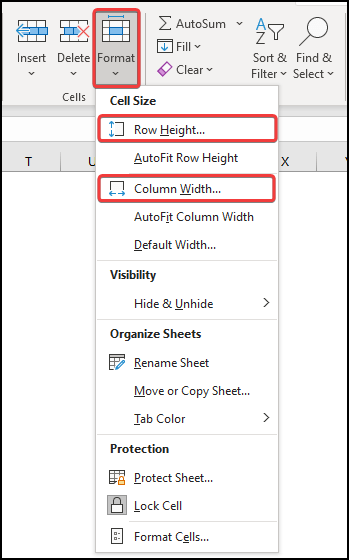
This way, we are going to make the columns and the rows return to their default dimension using the context menu. When we right-click on any cell, it shows us the context menu. We will customize column and row height using this menu to reset cell size to default. Follow steps below.
⬇️⬇️ STEPS ⬇️⬇️
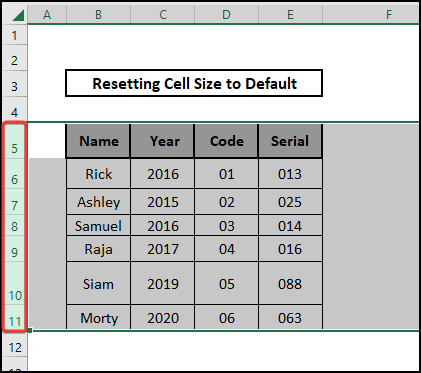
- First, select all the columns you want to reset to default from the column bar by pressing Ctrl and left click of the mouse cursor or just drag using the mouse.
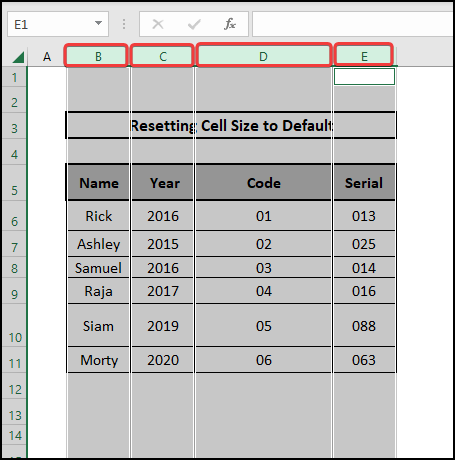
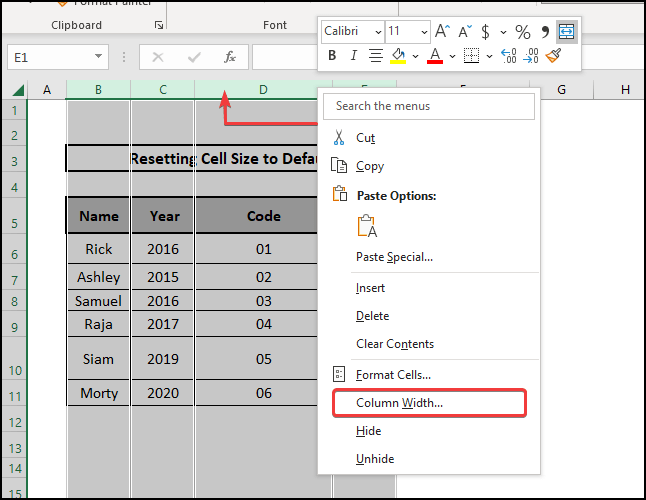
- Now, right-click on anywhere over the column bar to get the context menu to customize cell width which is column width. Select the Column Width from context menu.
- After that, insert 8.43 in column width box and press OK.
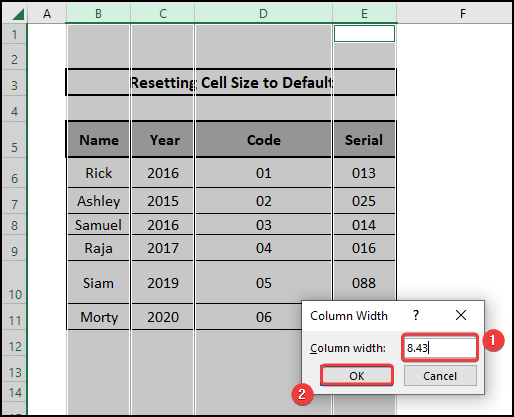
- As you can see, all the columns are now reset back to the default width.
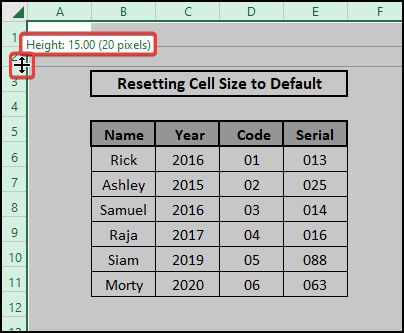
- Now we will do the same thing for the rows. Select all the rows you want to reset to default from the row bar by pressing Ctrl and left click of the mouse cursor or just drag using the mouse. Here we are dragging to select.
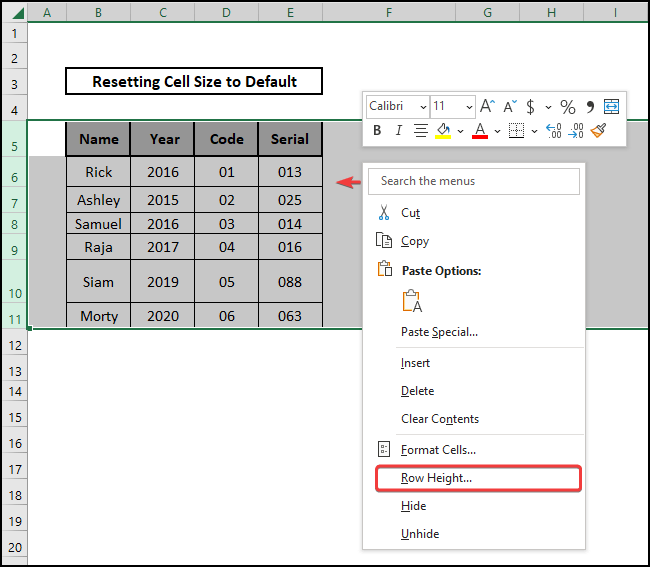
- Now right-click on anywhere over the selected zone to get the context menu to customize cell height which is row height. Select the ROW Height from the context menu. Note that when you select using Ctrl, you have to right-click on the column bar or the row bar to customize cell size, but when you select by dragging, you can use the whole selected zone to do the same thing.
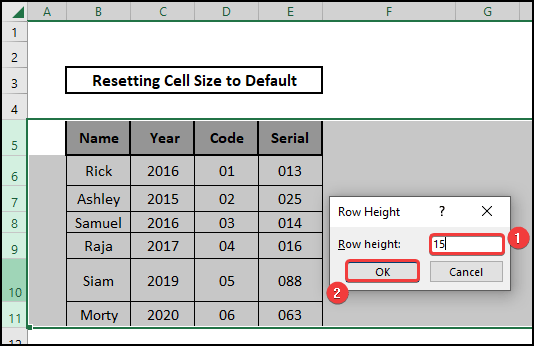
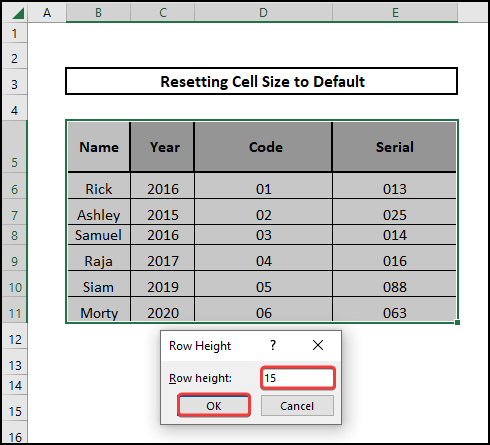
- After that, insert 15 as row height and press OK.
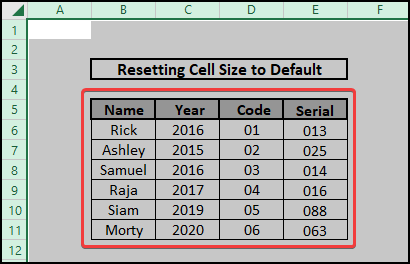
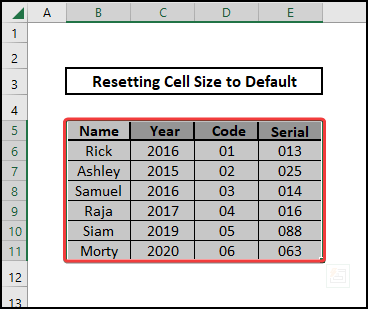
- See the results below, as we have successfully reset the cell size to default here.
📕 Read More: How to Make All Cells Same Size in Excel
2. Reset by Dragging
In this part, we will be using the intersecting part of the column bar and row bar to apply customization to the whole dataset in the worksheet. We are going to click and drag to adjust the size of the column as well as the row. It’s not as hard as you are thinking to follow the instructions below.
⬇️⬇️ STEPS ⬇️⬇️
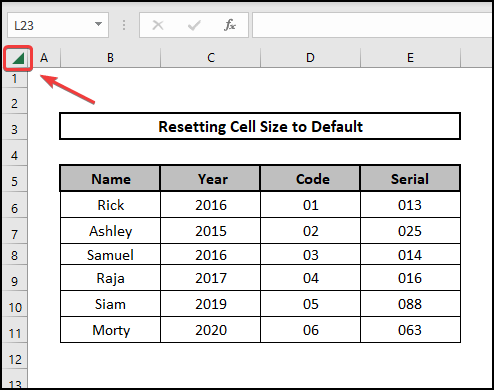
- First, click the button shown in the picture in the intersecting point of the row and column bar to select the whole worksheet.
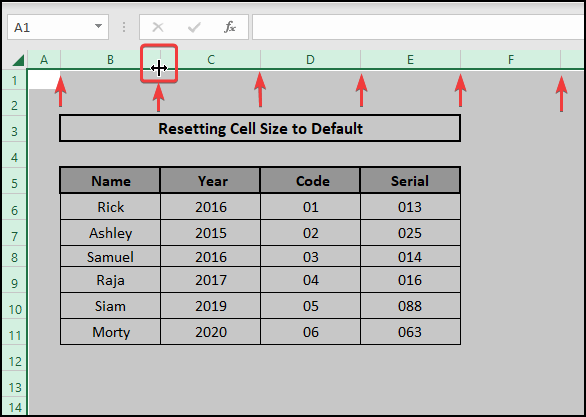
- Now hover your mouse cursor on any of the edges of the column line on the column bar, and your cursor will look like the picture below. What here will happen is when you click and drag any of the columns, every other column will be affected similarly.
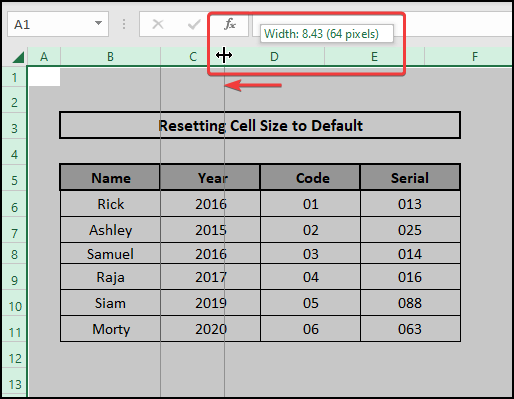
- Now click and drag until it shows 8.43, then release to apply.
- The sheet will look like this.
- After that, do the same in the row bar until it is 15 units high.
- After customizing the rows, the end result will be like this as all the cell’s size in the worksheet has been reset to default.
3. From File Tab
This way, we are going to define the cell size for newly created worksheets using File tab in the ribbon. Follow these steps.
⬇️⬇️ STEPS ⬇️⬇️
- First, go to the File tab from the ribbon.
- Select Options. You’ll find it in the lower part of the left side. Then a new window will appear, apply the following criteria which are in the red box and press OK.

- This way, we made sure our new workbook will have cells set to default size.
4. Using Format Option
In this part, we will use the Format option to reset cell size to default. This option can be found in the Home tab on the right side of the tab. This method is pretty straightforward and easy to remember. Follow the instructions below.
⬇️⬇️ STEPS ⬇️⬇️
- First, select the whole range where you want to reset cell size to default.
- Now from the Home tab, format the cells using the Format option at the right side of the ribbon. You will see two options available both Row Height and Column Width.
- Customize row height to 15 and column width to 8.43. I am demonstrating the row height for you.
- And here is the result.
- After also customizing the column the end results will look like this. The selected cells have been reset cell size to default
📕 Read More: 5 Easy Ways to Change Column Width of Excel in mm
5. Employing VBA Code
In this section we are going to use Microsoft Visual Basic to reset cell size to default in Excel. Using the VBA code is an advanced form of solving any problem in Excel. It’s also a time saving efficient and productive way of solving problems in Excel.
⬇️⬇️ STEPS ⬇️⬇️
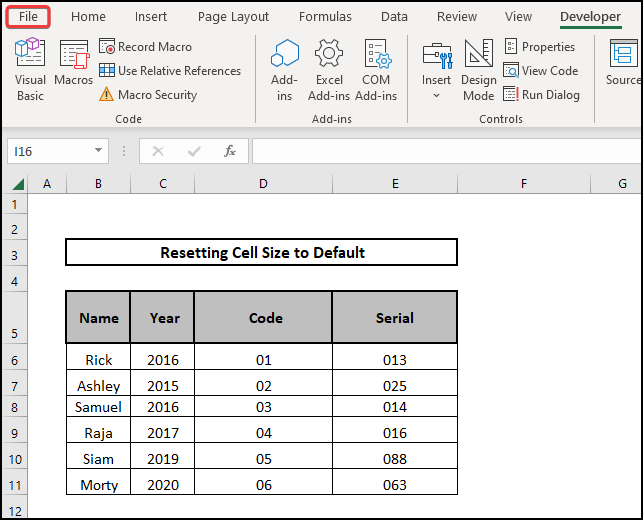
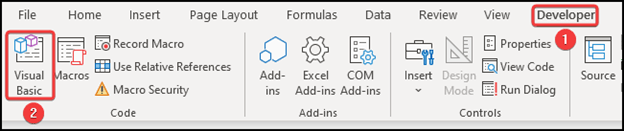
- First, turn your Developer tab on in Excel.
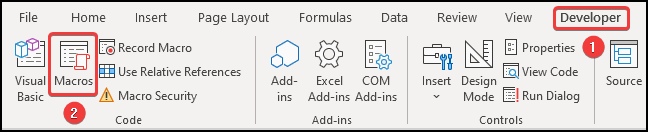
- Now go to Visual Basic option from the Developer tab of the ribbon.
- After that, a new window will pop up. Select Module from the Insert.

- Copy the following code.
Sub Reset_Cell_Size_to_default()
Dim Z As Worksheet
Set Z = Worksheets("_VBA_")
With Z
            .Cells.UseStandardHeight = True
            .Cells.UseStandardWidth = True
End With
End Sub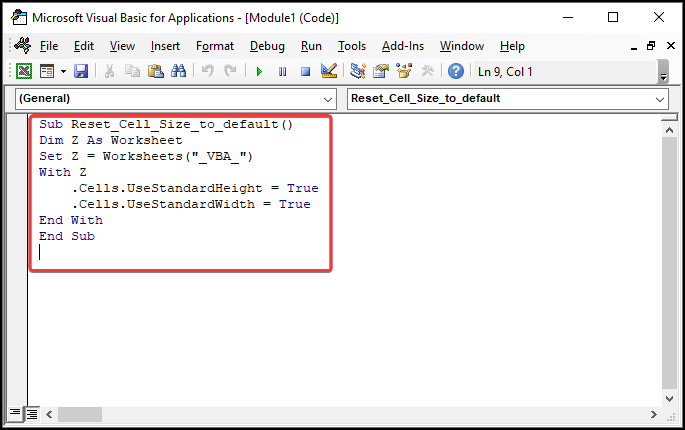
- Now save it as a Macro Enabled Workbook.
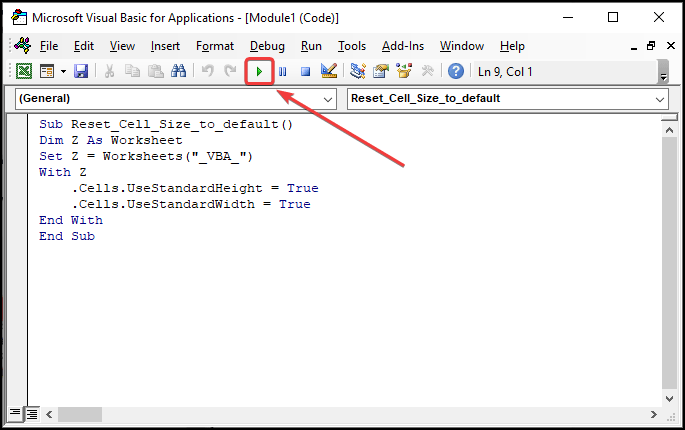
- Select the cells you want to apply the code into.
- Now go to Visual Basic from the Developer tab.
- Click Run button.
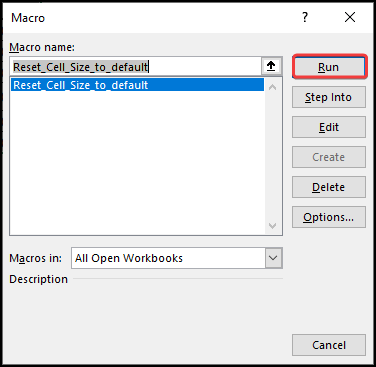
- OR you can also go to Macros from the Developer.
- After that, click Run.
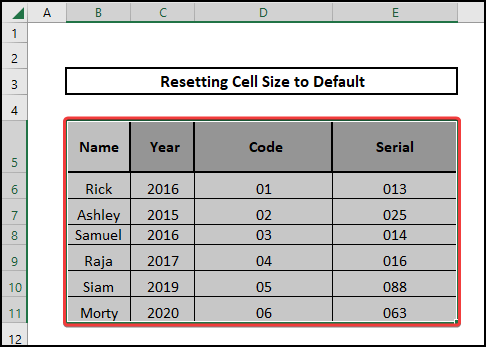
- The results will be like this. As you can see we have successfully reset the selected cell size to default.
📄 Important Notes
🖊️ Use shortcuts to reduce the time for instance F4 for absolute value
🖊️ Always save after any major change in the file.
🖊️ Be careful while defining criteria to be accurate as the dataset.
🖊️ While copying any formula try pasting it in the formula bar instead of the cell itself.
🖊️ The default size for cells in Excel is 15 x 8.45 ( Height x width ).
📝 Takeaways from This Article
📌 The article demonstrated different approaches on how to reset cell size to default in Excel.
📌 In the first section, we showed how to use Context Menu to reset cell size to default in an Excel dataset.
📌 Then, we demonstrated how to use other methods as well as VBA Code to reset cell size to default in Excel.
📌 Finally, we properly learned how to reset cell size to default in excel with different approaches.
Conclusion
Firstly, I hope you were able to use the techniques I demonstrated in this how to reset cell size to default in Excel lesson. As you can see, there are a lot of options on how to do this. However, decide deliberately on the approach that best addresses your circumstance. Most importantly I advise repeating the steps if you become confused in any of the steps if you get stuck. However, practice on your own after taking a look at the Excel file in the practice workbook I’ve provided above because practice makes a man perfect. Above all, I earnestly hope you can use it. Please share your experience with us in the comment box about how your experience was throughout the article and what we need to improve or add to make things better for you folks. However, if you have any problem regarding Excel spit it in the comment box. The Excelden crew is always available to answer your questions. In conclusion, keep educating yourself by reading. For more Excel-related articles please visit our website Excelden.com.