Sometimes we work with such a dataset that they represent better in a table. But sometimes we want to make some changes to our table. We may want to delete the formatting or want to keep the formatting but delete the data. So here in this article, we will learn how to remove a table from excel. We will discuss 4 different methods in the following sections.
📁 Download Excel File
Download the Excel file from here:
Learn to Remove Table from Excel with These 4 Methods
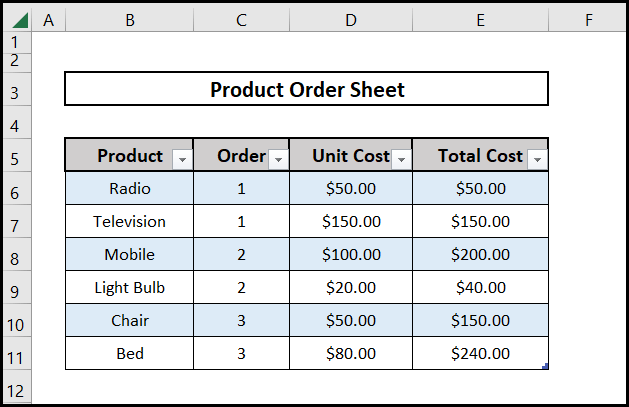
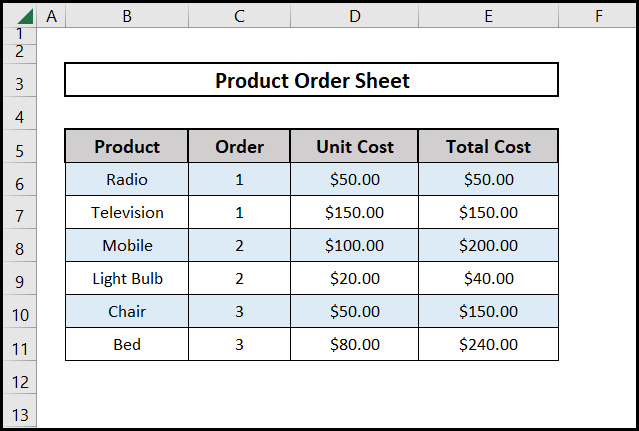
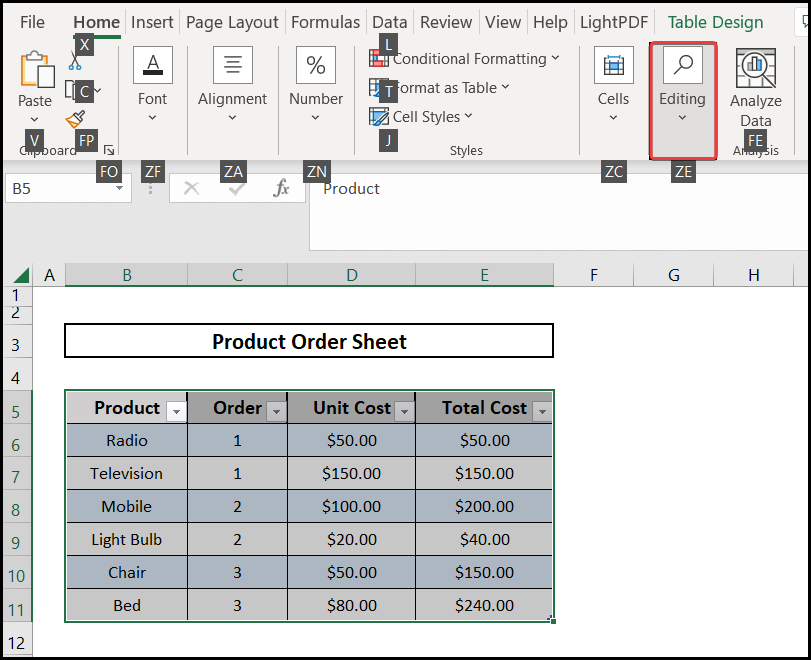
Here in this article, we will learn 4 different ways to remove a table from Excel. We have a dataset of product order sheets of a certain company. We have inserted all the data sets in the table format. The snapshot of our sample datasheet is as follows for demonstration purposes.
1. By Converting to Range
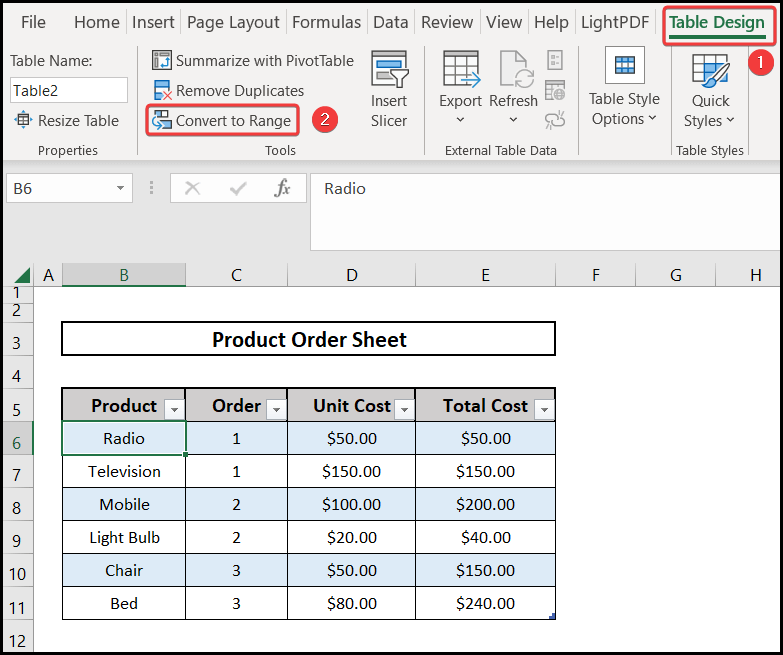
Here in this section, we are going to learn how to remove a table from excel by converting it to the range. So the step-by-step procedures are as follows.
⬇️⬇️ STEPS ⬇️⬇️
- Firstly we select any cell from our table.
- Following that, we go to the Table Design option.
- Then we select Convert to Range.
- At this time we will get a Dialogue box.
- We select the Yes button.
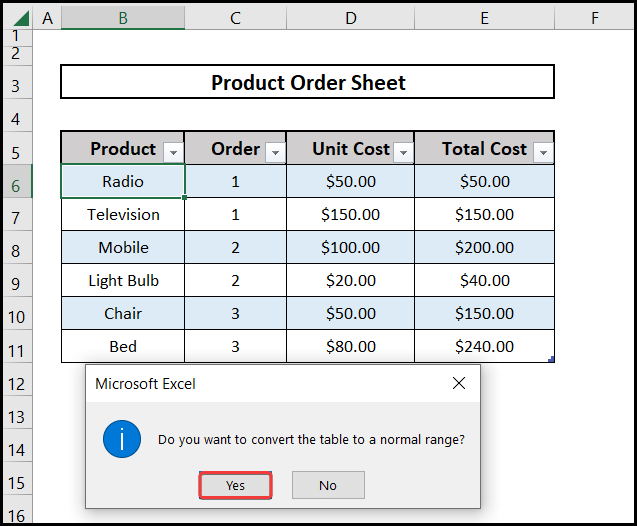
- Finally, we will see that our Table format is not available anymore.
- The whole table is a data range now.
2. Use Delete Option from Top Ribbon
Here we are going to use the Delete option to remove a table from excel. So the step-by-step procedures for removing a table using the Delete option are as follows.
⬇️⬇️ STEPS ⬇️⬇️
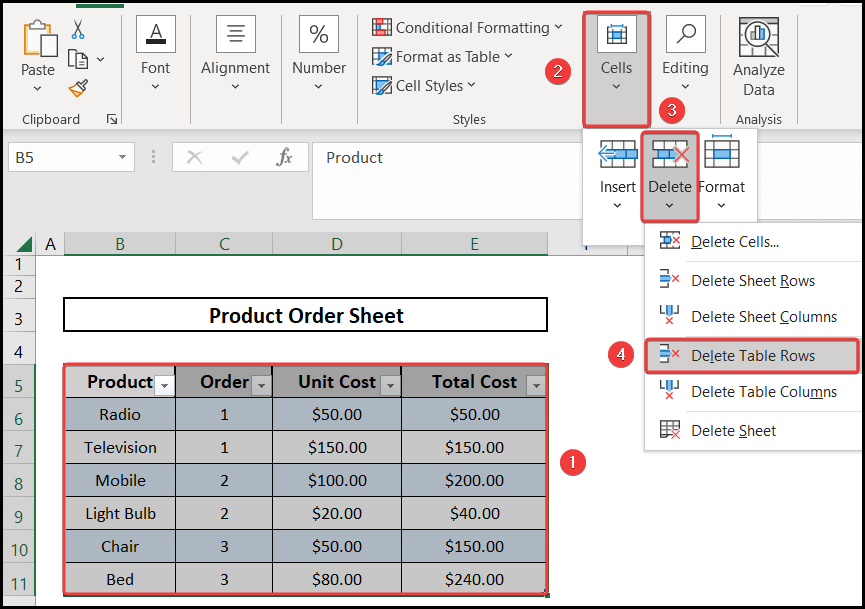
- Firstly we select our whole table by dragging with the mouse.
- Following that, we go to the Cells option.
- After that, we go to the Delete option.
- Finally, we select the Delete Table Rows option.
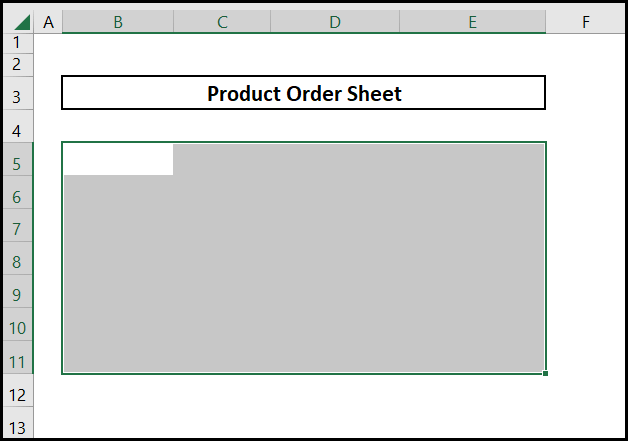
- In this step, we will see that the whole table is removed.
📕 Read More: 3 Approaches to Remove Blank Rows in Excel Pivot Table
3. Applying Clear Menu
In this section, we will see how to use the Clear menu effectively to remove a table from excel. So the step-by-step procedures for that are as follows.
⬇️⬇️ STEPS ⬇️⬇️
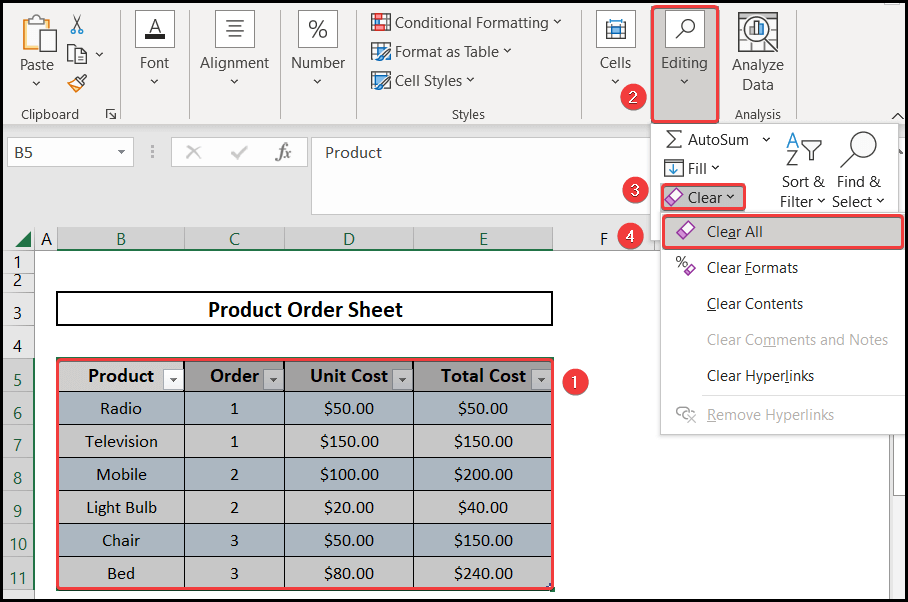
- Firstly we select the whole table by mouse dragging.
- Then we go to the Editing option.
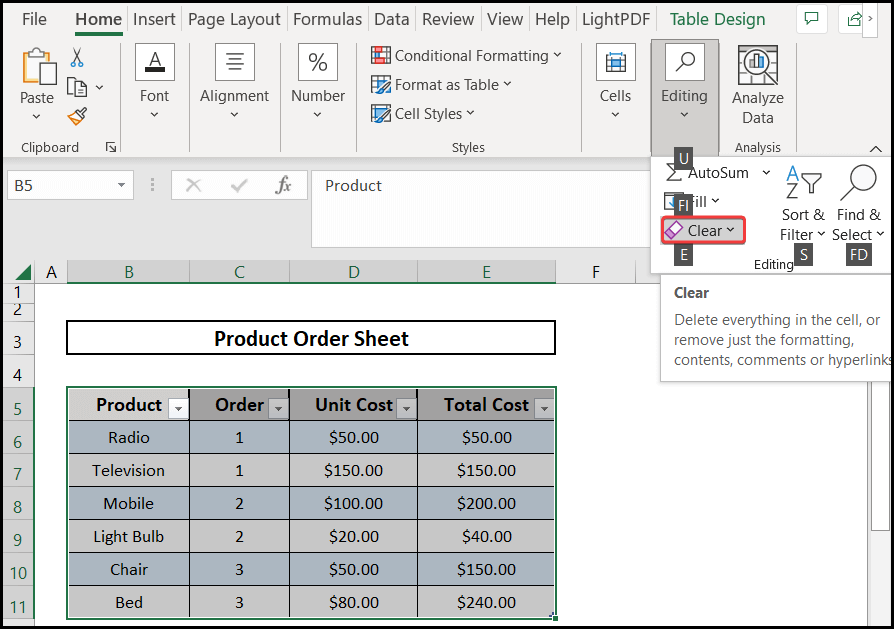
- Following that, we go to the Clear option.
- Finally, we select the Clear All option from there.
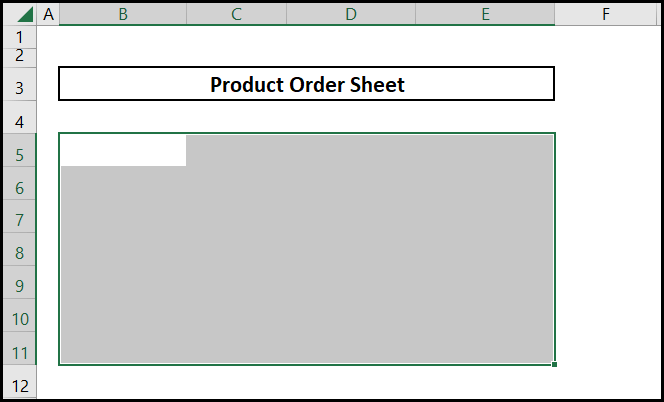
- In this step, we will see that the whole table along with the data is removed.
4. Using Keyboard Shortcut
Here in this section, we will learn the use of a Keyboard shortcut to remove a table from excel. So the brief description of how to do that is as follows.
⬇️⬇️ STEPS ⬇️⬇️
- Firstly we select the whole table by mouse dragging.
- After that, we press the Alt button.
- We will see the keyboard shortcut on the screen.
- Following that we press H to go to the home option.

- Following that we again get some keyboard shortcuts on the screen.
- Now we press the ZE buttons together.
- This will take us to the Editing option.
- We again get some keyboard shortcuts on the screen.
- Following that we press E on the keyboard.
- By this time we get some keyboard shortcuts again.
- Now we press A to select the Clear All option.

- Finally, we will see that our table along with its data is no longer available.

How to Remove Table Formatting in Excel
Here we are going to see how to remove table formatting in Excel. We will learn two procedures. Firstly we will remove formatting but keep the data. In the second procedure, we will use the Clear Formats Tool.
1. Using Clear Option from Table Design Tab
Here in this step, we are going to learn how to remove the formatting of a table while keeping the data of that table. So the step-by-step procedures on how to do that are as follows.
⬇️⬇️ STEPS ⬇️⬇️
- Firstly we select any cell on our table.
- After that, we go to the Table Design option.
- We select the dropdown arrow from the Table Styles option.

- Here we select the Clear option from the bottom of the Table Styles option.

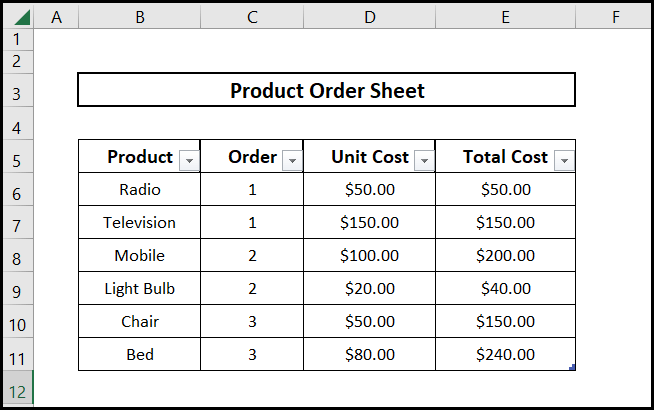
- Finally, we will see that the format of our table is removed.
- But the table data are still available.
📕 Read More: 7 Ways to Remove Partial Data from Multiple Cells in Excel
2. Using Clear Formats Tool
Here is the final method, we will learn the use of the Clear Formats tool. We will briefly describe how to use the Formats tool to remove a table from excel. Therefore the breakdown step-by-step procedures are as follows in below.
⬇️⬇️ STEPS ⬇️⬇️
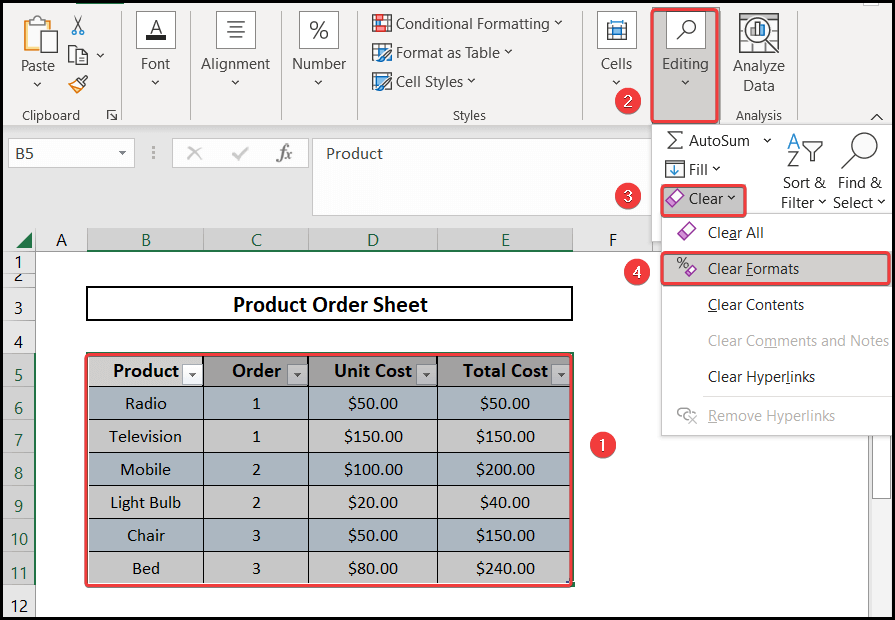
- Firstly we select our whole table by mouse dragging.
- Following that, we go to the Editing option.
- After that, we select the Clear option.
- We will find the Clear Formats option here.
- Finally, we select the Clear Formats option.
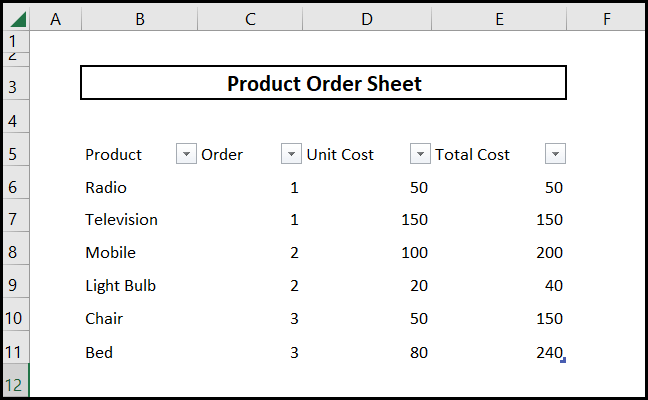
- After doing that we will see that all the format of our table is removed.
- But the table data is still present.
📄 Important Notes
🖊️ We must first put our dataset into a table format to use these methods.
🖊️ While using the keyboard shortcuts we should be aware of the case sensitivity.
📝 Takeaways from This Article
📌 We can convert the data to the range for removing the table.
📌 Secondly we can use the Delete option.
📌 We can also apply the Clear Menu option.
📌 We can also use the keyboard shortcut.
📌 If we want we can also remove the table but keep the data in it.
📌 Finally we can use the Clear Formats tool also to remove tables.
Conclusion
Here in this article, we have learned 4 different ways to remove a table from Excel. We can use various options from the menu bar like Delete, Clear, Clear Formats, etc. We can also use the keyboard shortcut to remove a table from excel. Users can use any of the methods they like. They can comment in the comment section for any queries. To learn more solutions regarding Excel you can visit Exelden.